Files & Folders
The following is a Table of Contents that links directly to specific sections within the guide.
- Overview
- File Naming Best Practices
- Download Files
- Organizing Files for Reproducibility (project only)
- Version Control Best Practices (projects only)
- View files
- Upload Files (project only)
- Manage and Update Files
- Add Metadata to a File (general)
- File Revisions and Version control
- Add Keywords to a File
- File and Folder Actions
Overview
The Files section of your project is an excellent place to hold all of your data, analysis, notes and other research materials. This guide focuses on Project files. Files functionality is different for OSF Registrations and Preprints. NOTE: You are not able to upload FOLDERS to the files page.
Projects
- All of the operations in this guide are available for files on a project
Registrations
- Registered files and folders cannot be deleted
- Registered files cannot be updated with new versions after the registration is submitted. If the file was part of a project that was registered, any previous versions will be accessible on the registered file. New versions added to the original project are not reflected on the registered file.
- Registered files cannot be moved or copied to different folders or components within a registration.
- Registered files and folders cannot be renamed.
Preprints
- Preprints support uploading a new file to create a new version (may be subject to moderation)
OSF can render hundreds of different file types, and has built-in <Version Control> for all files stored in your project. Each file has a unique, persistent URL so that it can be cited or linked to individually.
Organization
Each project and component can have its own set of files, allowing you to organize your files into categorical or hierarchical groups, like datasets or multiple studies within the same research project. See section Organizing Files for Reproducibility.
Privacy
Files and folders have the same privacy settings and contributor permissions as the project or component in which they are stored. See section on Control Access on your Project.
Discoverability
Public files can be found by searching on the OSF. Enhance the discoverability of your data by Adding Keywords to your Files.
File Name Best Practices
Carefully choosing file names that are informative and useful for both humans and machines is a simple step towards reproducible research. It is best to choose a name that makes it easy to understand what the file contains and how it should be used. See this Resource for helpful tips.
Download Files
- Go to the Files section of your Project
- On the specific file you want to download click the 3-dot menu, or kebab menu, this will give you the option to Download the File.
- To download all files in a specific project/component or folder, see Downloading as Zip

- You should then see the specific file in your Downloads folder.

Organizing Files for Reproducibility (Projects Only)
Organizing your files using names and locations that are informative help to document what your files are and how they relate to other files. The more informative your file organization, the more reproducible your research will be.

Be consistent throughout the research process
Create a project directory and give it an informative name. Create and name subdirectories (components) with informative names and locations. Maintain naming conventions throughout the research lifecycle.
Use one directory for one project
Using one directory makes it easier to find everything. Sharing your project is easier as you can zip parts of your directory (e.g. data). On the OSF, you can zip components and save with the date in the name as a way of documenting changes and versions over time.

Separate raw data from derived data
Within your data/ component, create separate subdirectories for raw data, derived data, and data summaries. Explain the nature of the data in the file by its location in the project directory.
Separate code from data
Within your project/ directory, create separate components for code and data
Separate output
Within your project/ directory, create a separate subdirectory for your output
- Manuscript output, figures, numerical output, and any other output should be separate from code and data
- Can name results/, output/, etc. with subdirectories for different types of output
Make raw data read-only
When you are not entering data, make your raw data file read-only to ensure it is not altered or mixed with other data. Consider uploading raw data as an uneditable file type, such as .pdf.
Don’t attempt calculations, sums, or visualizations within the raw data file. This avoids accidentally introducing mistakes into the raw data. If you want to make calculations on the data, make a copy and rename it.
Make README files
Document the files contents and purpose of the directory and each subdirectory. Describe the files contained within the directory or subdirectory and explain how subdirectories relate to one another. Whenever files are added or the subdirectory is changed, update the README file to document the changes.
Version Control Best Practices (Projects only)
Managing and tracking research materials can prove a significant challenge during the course of research, especially in collaborative projects. Improving the ability to consistently track and retrieve each version of a file can lead to more efficient collaboration and increased accuracy of research results. This is most effectively accomplished through the use of version control systems that automate various portions of the storage and record keeping.
Selecting Systems that Work in Theory and Practice
Version control systems vary widely in capabilities and complexities, from automatic tools that sync sequential versions of your files with various cloud storage offerings, to tools like git (see also gitlab, github) that allow for active management of multiple branching and merging versions of the same file. Both the theoretical capabilities of the tool and how those capabilities are to be utilized in practice should be considered.
When selecting a version control system for your research, the primary consideration should be what can be most consistently implemented in your current environment. If your chosen tools are too challenging to use or are not available on all platforms where research materials need to be managed, individual researchers may begin use of their own tools and systems, resulting in the same kind of confusion that you hoped to avoid. Existing familiarity with a particular tool, availability of tools, and ease of configuring those tools on new devices are all important considerations when selecting a version control system.
Once you have identified what systems can be implemented consistently in your research environment, some additional considerations are worth including in your evaluation. In addition to general software selection considerations (price, size of the community using and supporting the tool, amount of community control, Free and Open Source (FOSS) licensing terms, etc), some specific questions to ask follow.
- How much complexity is functionally required by your particular task and workflows? For instance collaborative software development may benefit from more complex tools than are needed to track sequential versions of a data file during analysis.
- How many versions do you need to keep and for how long? Some tools may only allow you to keep a certain number of versions, to only keep them for a certain period of time, or may limit whether you can migrate those versions to other tools. Ensure that any limitations are in line with your research and archival needs or select tools without such limits.
- How much of the metadata and provenance tracking data specified in your Data Management Plan will this tool record as it is actually implemented in your workflows? If your team delegates all interactions with the version management system to a small number of team members, your version control system may end up with less complete or less accurate information than if everyone interacted with it directly. For instance, if you have a single data manager who enters all the files into the group version control tool, it may be unclear who authored particular changes and when, whereas if each researcher had entered their own changes directly, that information would have been automatically captured by the version control tool.
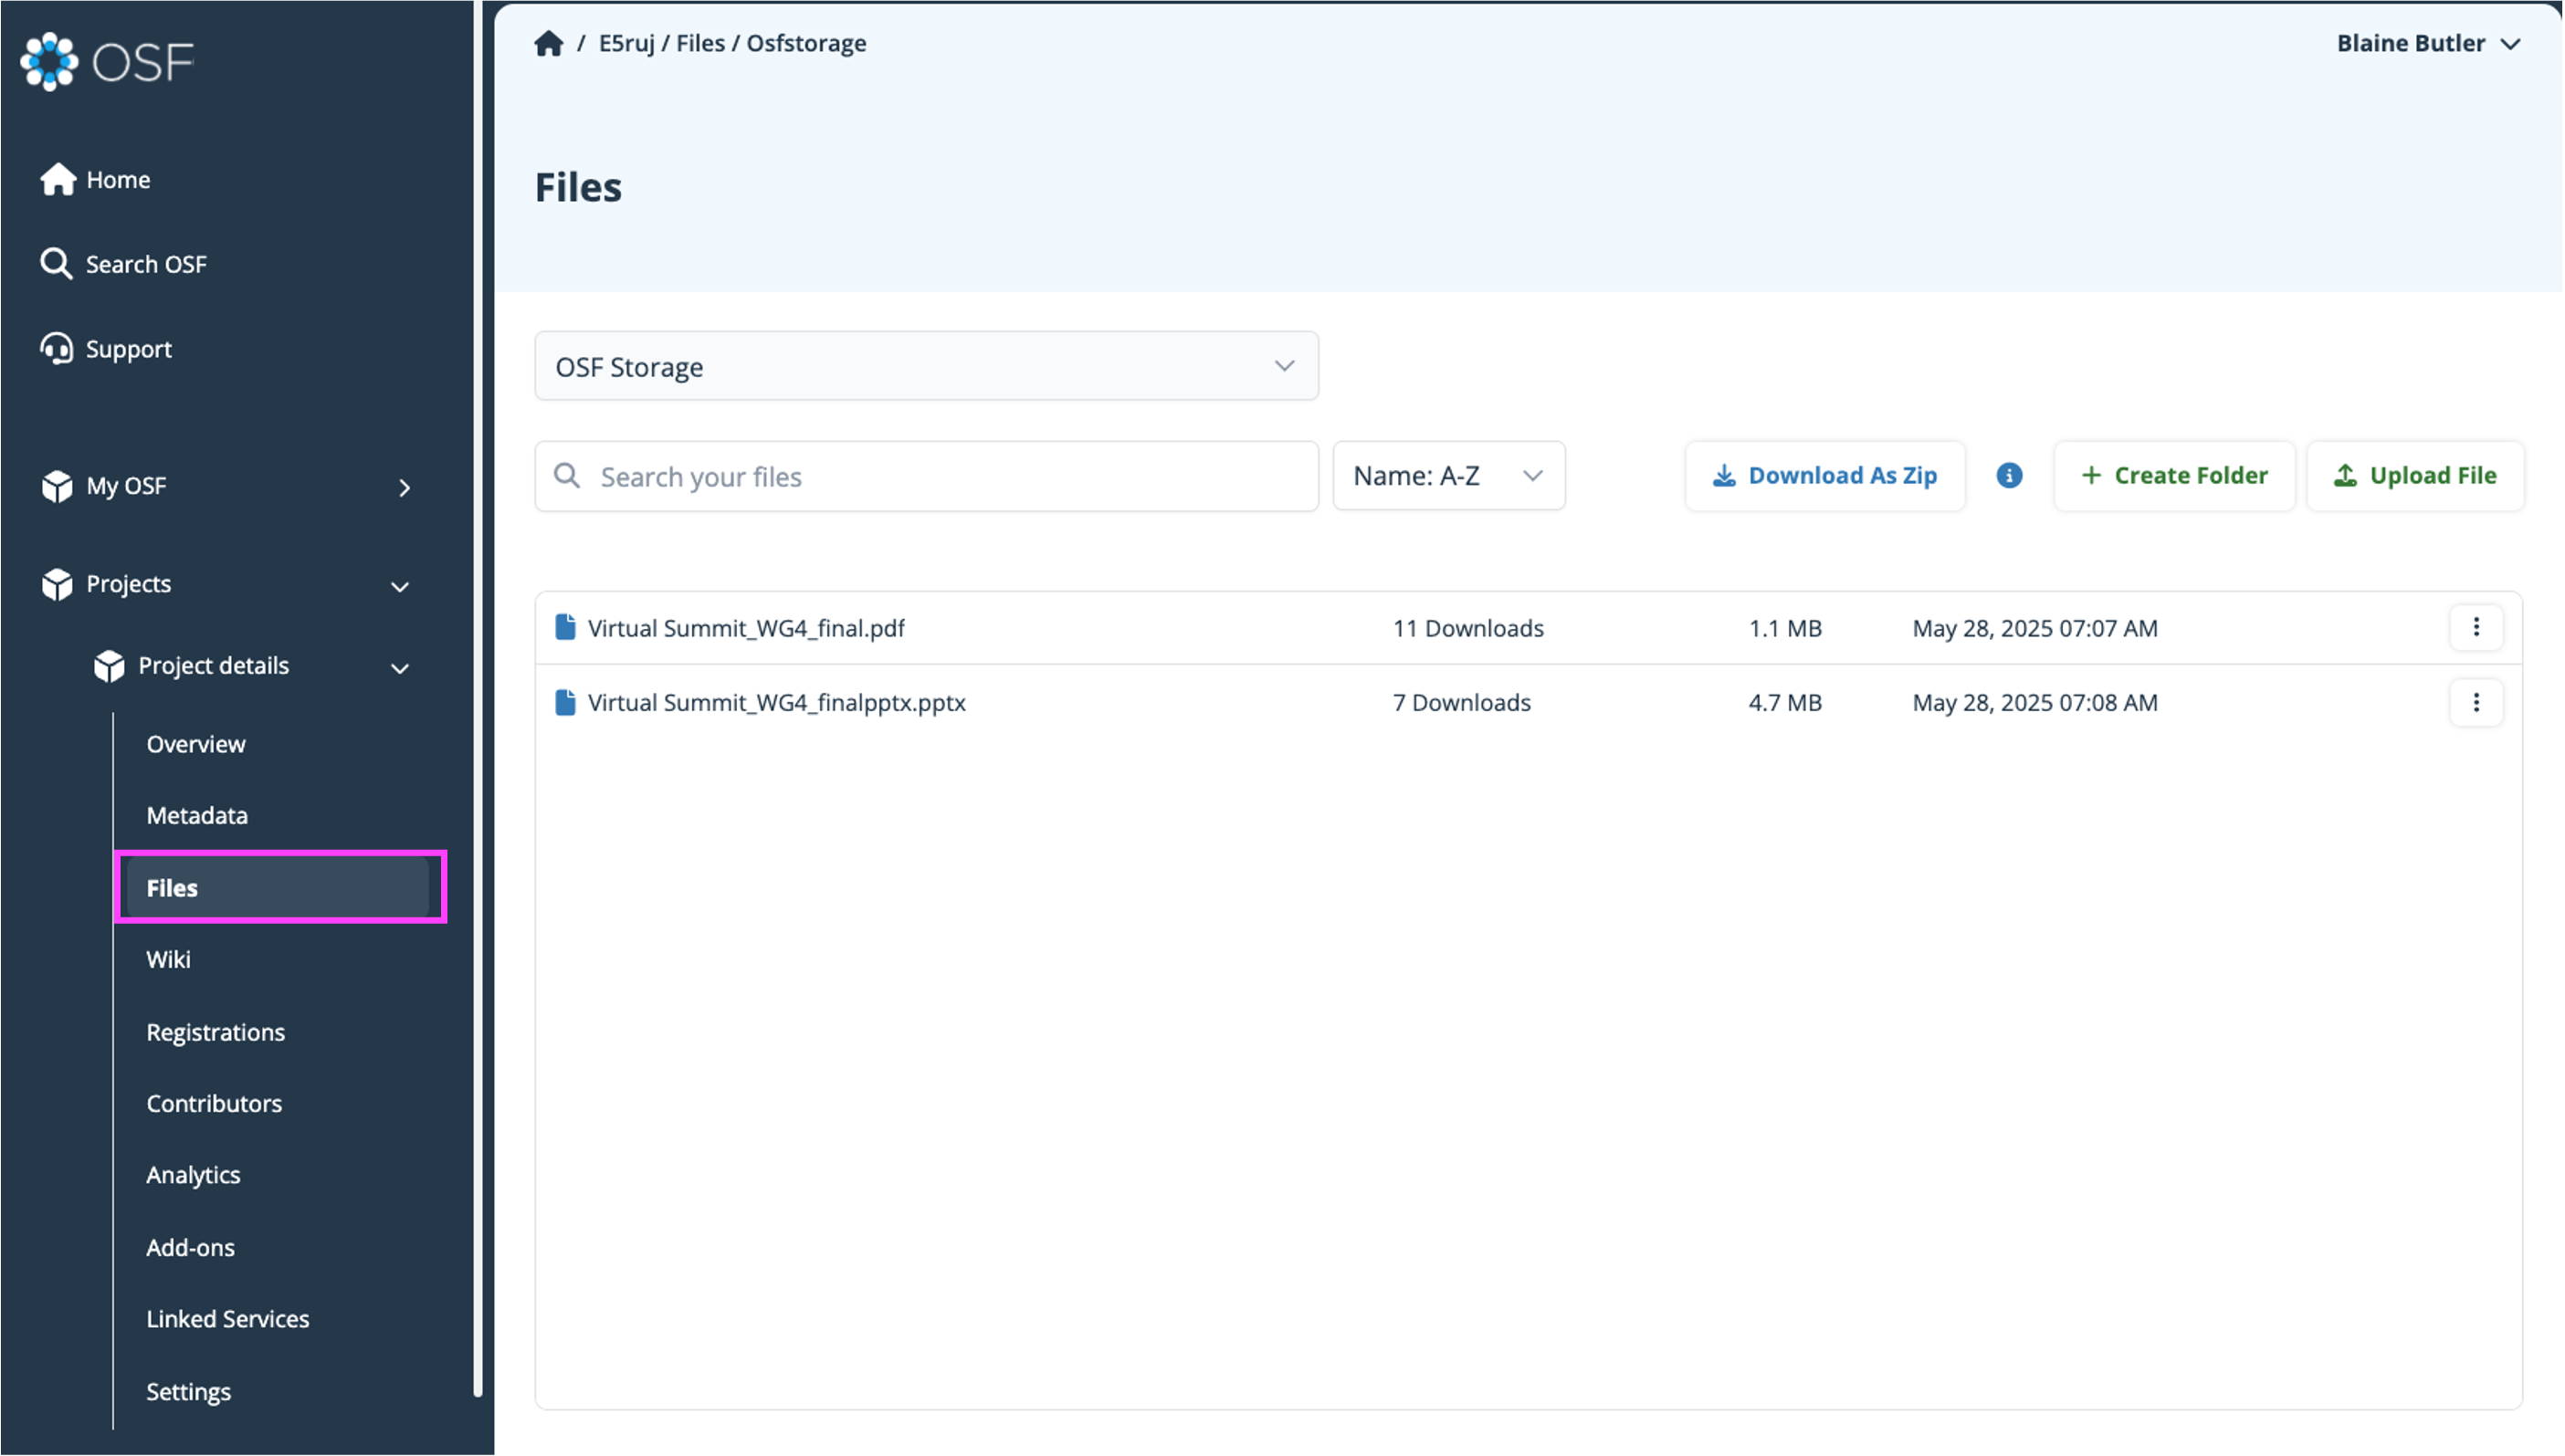
View Files
Manage your files by clicking Files from the left sidebar navigation to bring up the Files Interface.

Your files display in the Files Preview area of your Project Overview.

Click a file name to view the file and its detail page.

Upload Files (Projects Only)
OSF storage is available as the default on all projects. Individual files uploaded to OSF Storage must be 5GB or less. Larger files can be stored in an add-on, which must be connected and configured.
First Navigate to the Files section of your project, using the Files section on the left side navbar. Then select Upload File.

To upload, 1) use the {V} button to 2) select the storage provider, then 3) upload the file.


Click the Upload File button and select files from your file browser. Uploading multiple files at once is supported – use multiselect from your file browser.
Note: Folders cannot be uploaded. Create a Folder first, then upload your desired file(s) to that folder.
Bulk Actions
Click the row for file(s) and folder(s) to select multiple. Choose an action from the menu at top left (Move, Copy, or Delete)

Manage and Update Files (Projects Only)
Files Interface
Go to Files from the left sidebar navigation on your project to bring up the Files Interface.
Click the three dots to the right of a folder or file name to reveal options to Download, Rename, Move, Copy, and Delete.
Steps to modify your files and folders here:

Files offer additional options to Share and Embed.

File Detail
Click the name of a file from the Files iInterface to view the File Detail page.
The Details tab shows by default, and includes options to download, embed, share, or delete.
Importantly, the Details tab is where you can view/update File Metadata and File Community Metadata, if desired. See Add Metadata to a File for details.
The second two tabs reveal options to view/download Revisions, File Versions, and and add/view Keywords, see Add Keywords to a File.

Add Metadata to a File (general)
Metadata can be added to individual files on the OSF to help identify, discover, and facilitate reuse.
Files must first be uploaded to an OSF project or registration before adding additional metadata. More details about how to [Add Metadata to Files in Projects] in our Metadata guide.
Avoid Duplication of Metadata
Files in OSF are always related to projects, registrations, or preprints, which have their own metadata as well. Because of this relationship, you do not need to repeat this information for every file. Instead, you can concentrate on just the information that will uniquely apply to each file: the type of material, its language (if applicable), a description, and a title (if it is different from the file name).
File Versions on OSF (Projects Only)
Uploading a new file to your project files in OSF Storage with the same name as an existing file will replace the existing file. A downloadable copy of the replaced file will be saved as a version, accessible under the Revisions tab. <Version Control Best Practices>
Expand the {V} next to the version date to see details and toggle to View a specific version

Click the Download button to download a specific version of a file.

Add Keywords to a File
Keywords help with discoverability of public files. Search the OSF to see what keywords are common in your area of research, or find other research that matches your keywords.
From the File Detail page, select the Keywords tab and enter your keywords. Click the Add button to apply your changes. Remove keywords by clicking the x to the right of the tag text.

Create a Folder (Projects Only)
From the Files Interface, click Create Folder. Enter your folder name in the dialog box that appears and click Create to apply your changes.

Download a Folder as a Zip
From the Files Interface, navigate to the root or to the specific folder that you want to download.
- Download everything in a storage provider, such as OSF Storage: navigate to the root or top level, and click Download As Zip.
- Download a specific folder or subfolder: first, click into that folder so that the files within it are displayed. Then, click Download As Zip.

Rename a File or Folder (Projects Only)
From the Files Interface, click the three dots to the right of a folder or file name. Select the option to Rename. Edit the file name in the dialog box that appears and click Rename to apply your changes. See also File Name Best Practices.

Move or Copy Files and Folders (Projects Only)
Files and Folders can be moved and copied from the Files Interface on OSF projects. They can be moved between components in a project and between some storage providers.
Move Files within one single Project or Component
From the Files Interface, click the three dots to the right of a folder or file name. Select the option to Move.

Copy Files within one single Project or Component (Projects only)
From the Files Interface, click the three dots to the right of a folder or file name. Select the option to Copy. Select your destination in the dialog box.

Move Files between Project ↔ Components (Projects only)
From the Files Interface, click the three dots to the right of a folder or file name.
1) Select the option to Move.
2) Click on the title of the project (blue link) to go to the parent project.
3) Click on the component you want to move the file to.
4) Click move to confirm the folder transfer.

Then you will see the confirmation page that your file has been moved.
Copying Files between Project ↔ Components works similarly.

Move Files to Different Add-on Storage (Projects Only)
From the Files Interface, click the three dots to the right of a folder or file name. 1) Select the option to Move.
If you would like to move your file to a different storage provider, first make sure you have an add-on enabled.
2) This will bring up all associated add-ons and components with your project. Select the folder destination.
3) Select which folder you would like this file stored or select “Move” to create a stand-alone file.
4) Finish moving your file by clicking the move button. If the “move” button is not clickable, you need to select a viable destination for your file.

Copying Files to Different Storage Add-ons works similarly.

Delete a File or Folder (Projects Only)
Once a file is deleted, it cannot be recovered and the action is irreversible. Provenance information will be left behind for deleted files - including those deleted on a third-party add-on - on the File Detail page accessible via unique, persistent URL.
From the Files Interface, click the three dots to the right of a folder or file name. Select the option to Delete.
Review the confirmation modal that appears and click Remove to apply your changes. The file will be deleted and cannot be recovered.

This Article Is Licensed Under CCO For Maximum Reuse.